
LiteSpeed Cache can be a great way to maximize your website speed using only the default configuration. LiteSpeed Cache communicates directly with the LiteSpeed installation on the server to save and handle static copies of dynamic websites, which significantly reduces the loading time of the store page.
A Litespeed server that supports LiteSpeed Cache and fully SSDs can be ordered in Smarthost by going here:
Litespeed Plans Smarthost
If you have WordPress and a server that supports Litespeed, it is worth enabling LiteSpeed Cache in the WordPress panel, the whole process requires several steps.
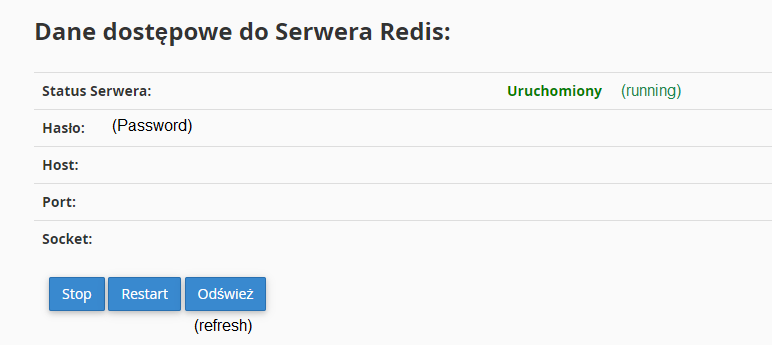
1) As a first step, make sure Redis is turned on.To do this, go to cPanel -> Redis Server.
When turned on, it should look like this:
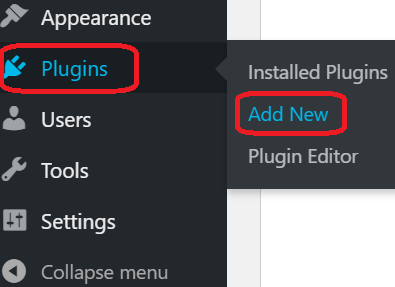
2) You need to install the LiteSpeed Cache plugin from the WordPress panel, so go to Plugins -> Add New.
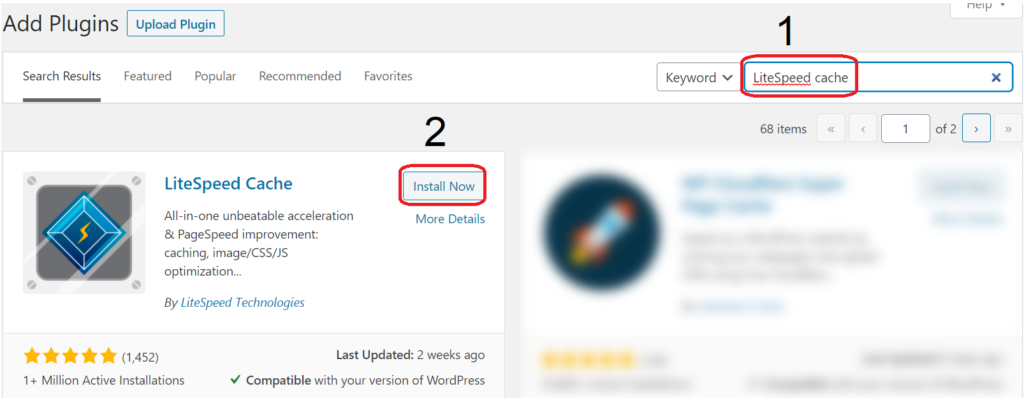
Search for LiteSpeed Cache plugin and then click Install Now.
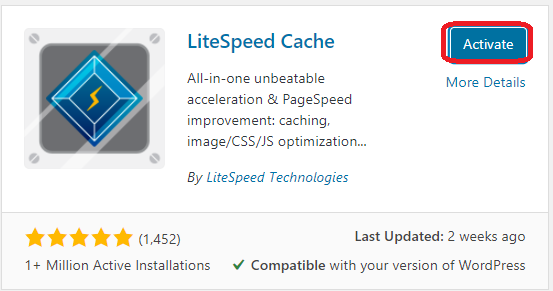
After installation click Activate.
After enabling you will be redirected to the plugins panel where on the LiteSpeed Cache plugin bar you should click settings.

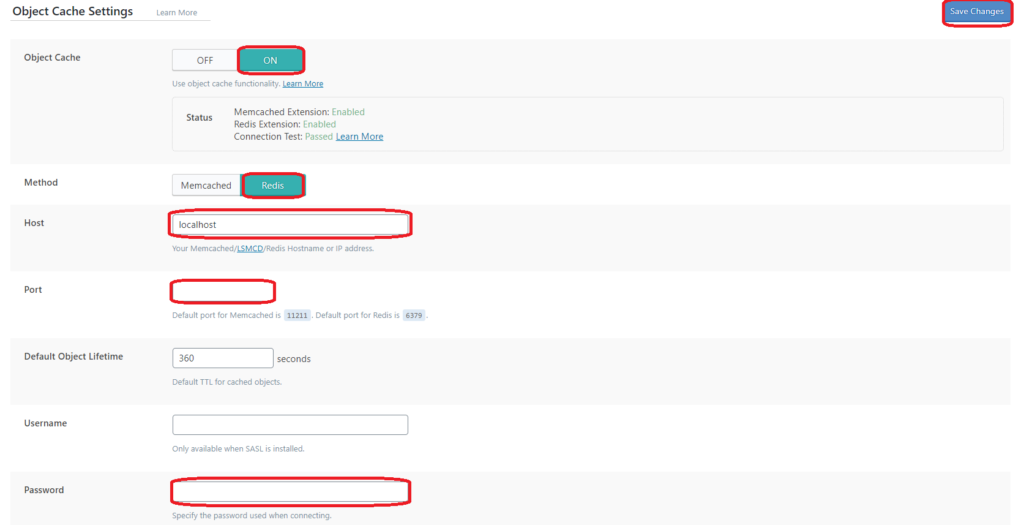
Then go to the tab [6] Object.

Here, you need to turn on the Object Cache, change the method to Redis and fill in the pools Host, Port and Password , the data to be entered is in the Redis instance that was enabled in point 1 of this guide.
After completing the data, click save changes.
After following the steps above, LiteSpeed Cache has been enabled in WordPress.
The description applies to premium-ls line packages, which operate on the basis of a commercial web server: LiteSpeed with the cache system: LScache and the cache store: REDIS. The servers are entirely on arrays with SSD disks. The hosting packages can be tested for free for 14 days: LiteSpeed + Redis hosting plans

IT systems administrator at Smarthost. He likes gadgets and new technology. In free time, he rides on rollers.
- DMARC – changing configuration - December 6, 2023
- Automatic WordPress login security by reCaptcha - July 10, 2023
- Does “Time to first byte” (TTFB) means server speed? - October 31, 2022