
To install Joomla on our hosting, you must first download the installation file from the official Joomla.org website by clicking on the “Download Joomla!” button.
How do I put a Joomla file on a server?
We assume that you already have a purchased hosting with cPanel management panel.
If you are faced with the choice of performance-proven hosting, compare our packages.
All descriptions in this guide are based on Smarthost.eu hosting.
After downloading the file, enter the cPanel by going to the web address: www.customer-domain.eu/cpanel, where we replace “customer-domain” with the address of our domain.
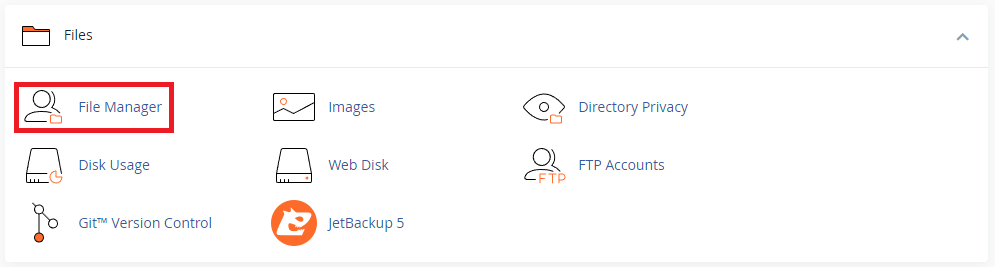
After logging into cPanel, we click on the “File Manager” button.
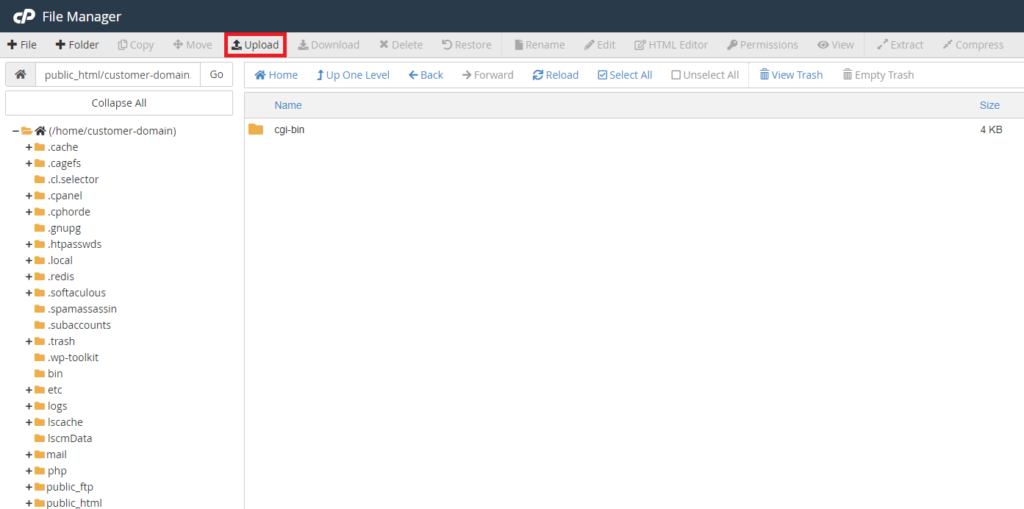
Once the file manager has loaded, we click on the “Upload” button.
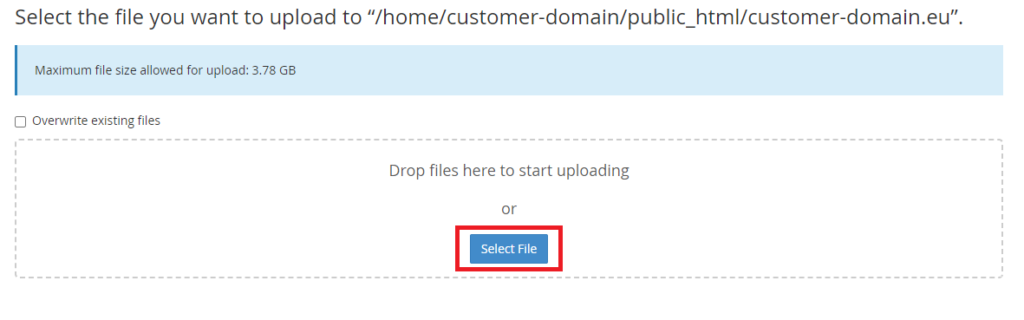
We then click on the “Select File” button and in the newly opened window we navigate to the folder on our computer that contains our downloaded Joomla file.
We select this file (zipped and still in .zip format), and then approve it to be placed on the server.
Another way is to click and hold the left mouse button on a file on our computer and then drag the file into the browser window in the “Drop files here to start uploading” box.
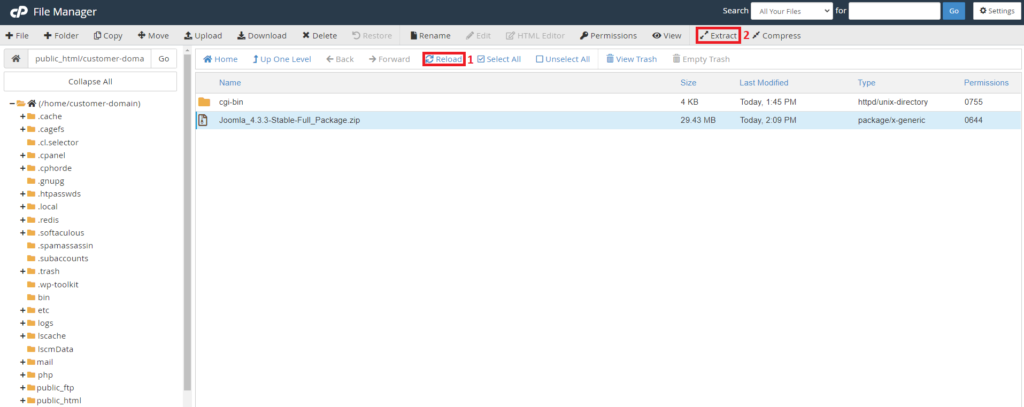
Once the file has been uploaded to the server, we click on the “Reload” button (box 1) to refresh the view of our files.
We click once on the “Joomla” file (highlighted in blue) and then on the “Extract” button (box 2) to extract it to the server.
In the newly opened window, we type “/public_html/customer-domain.eu” (field 1 – type without the inverted commas). This refers to the folder on our server that contains the files that are loaded on entering our website.
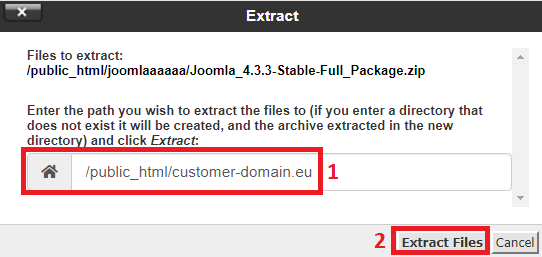
We click on the “Extract Files(s)” button (box 2) to start extracting. Once the files have been extracted, click on the “Close” button.
How to properly install and configure Joomla?
After preparing the files on the server, we can start installing Joomla.
Enter the address of our website in the web browser, e.g. www.customer-domain.eu. After entering the address, if everything was successful, we should see the Joomla installation screen, where we provide the information necessary for installation.
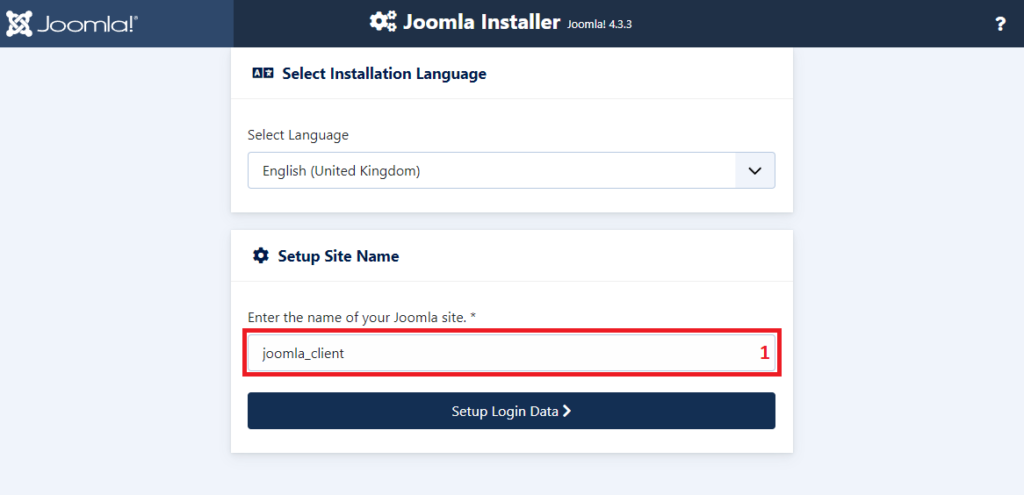
In the “Setup Site Name” field (box 1) enter the name of the site chosen by us (example: joomla_client).
After completing the “Setup Site Name” field, click the Setup Login Data.
In the field “Enter the real name of your Super User” (box 2) enter our nickname or name and surname.
In the field “Set the username of the Super User account” (box 3) enter the name of the user who will manage our website (example: joomla_client).
In the “Set the password for your Super User account” field (box 4) enter the login password to the administration panel.
In the last field (box 5) we enter our email address. It can be an external email (e.g. our email on gmail.com) or an email set up on our server.
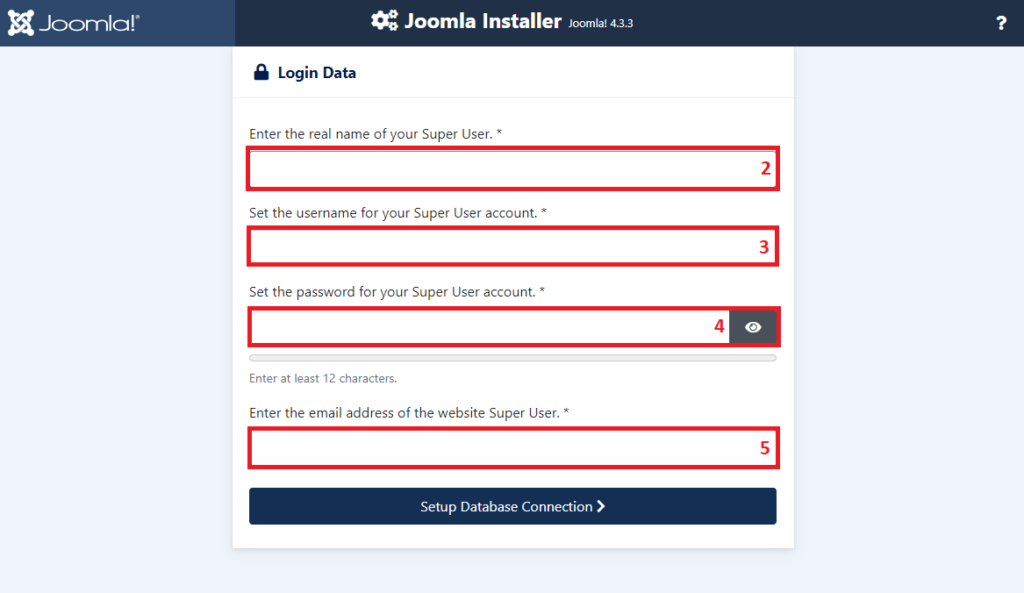
After completing all the required information, click on the “Setup Database Connection” button.
In the next step, complete the information about our database (guide “How to set up a new MySQL database?“).
In the “Select the database type” field (box 1) make sure that “MySQLi” is selected.
In the “Either a username you created or a username provided by your host” field (box 2) enter the name of the user assigned to our database (example: customer_database).
In the “Either a password you created or a password provided by your host” field (box 3) we enter the password of our database user.
In the “Enter the database name” field (box 4) enter the name of our database (example: customer_database).
After completing all the required information, click on the “Install Joomla” button.

If you have followed all the steps correctly, you should see a screen informing you that the installation was successful.
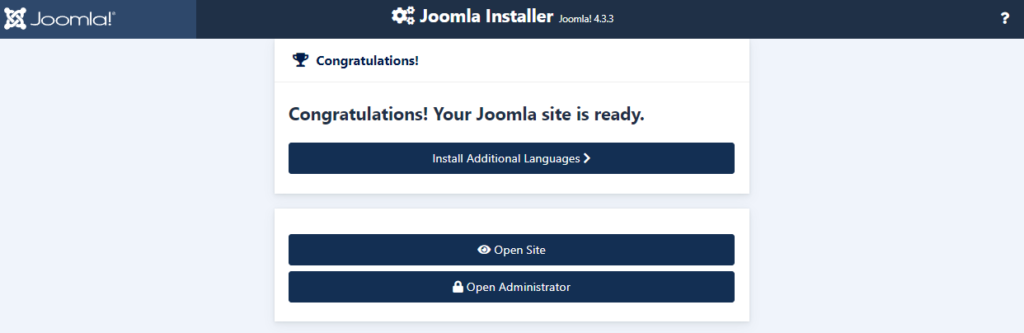
After clicking on the “Open Site” button, we will be transferred to our website. If “Open Administrator” is checked, we will go to the login screen of the administration panel.
To log in to the administration panel at a later time, enter the address of our website in the web browser and add “/administrator” to it (example: www.customer-domain.eu/administrator).
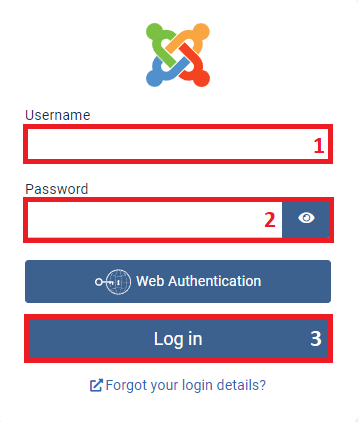
In the “Username” field (box 1) enter the name of the user managing our website (example: joomla_client).
In the “Password” field (box 2) enter the password of the user managing our website. Click the “Log in” button (box 3) to log in after entering the data.
After logging in, the administration panel of our website will open, where we can start building our website.

- Free SSL certificates at smarthost.eu and DNS zone at a third-party provider - October 3, 2024
- How to install an EV certificate? - October 3, 2024
- How do SSL certificates work? What are the types of SSL certificates? - October 3, 2024